Showing posts with label Mod Podge. Show all posts

April 5, 2011

DIY Photo Canvas!

I am always looking for fun and unique ways to display our family photos. These look professionally done, but for a fraction of the cost! I think I spent $10 for the whole project!
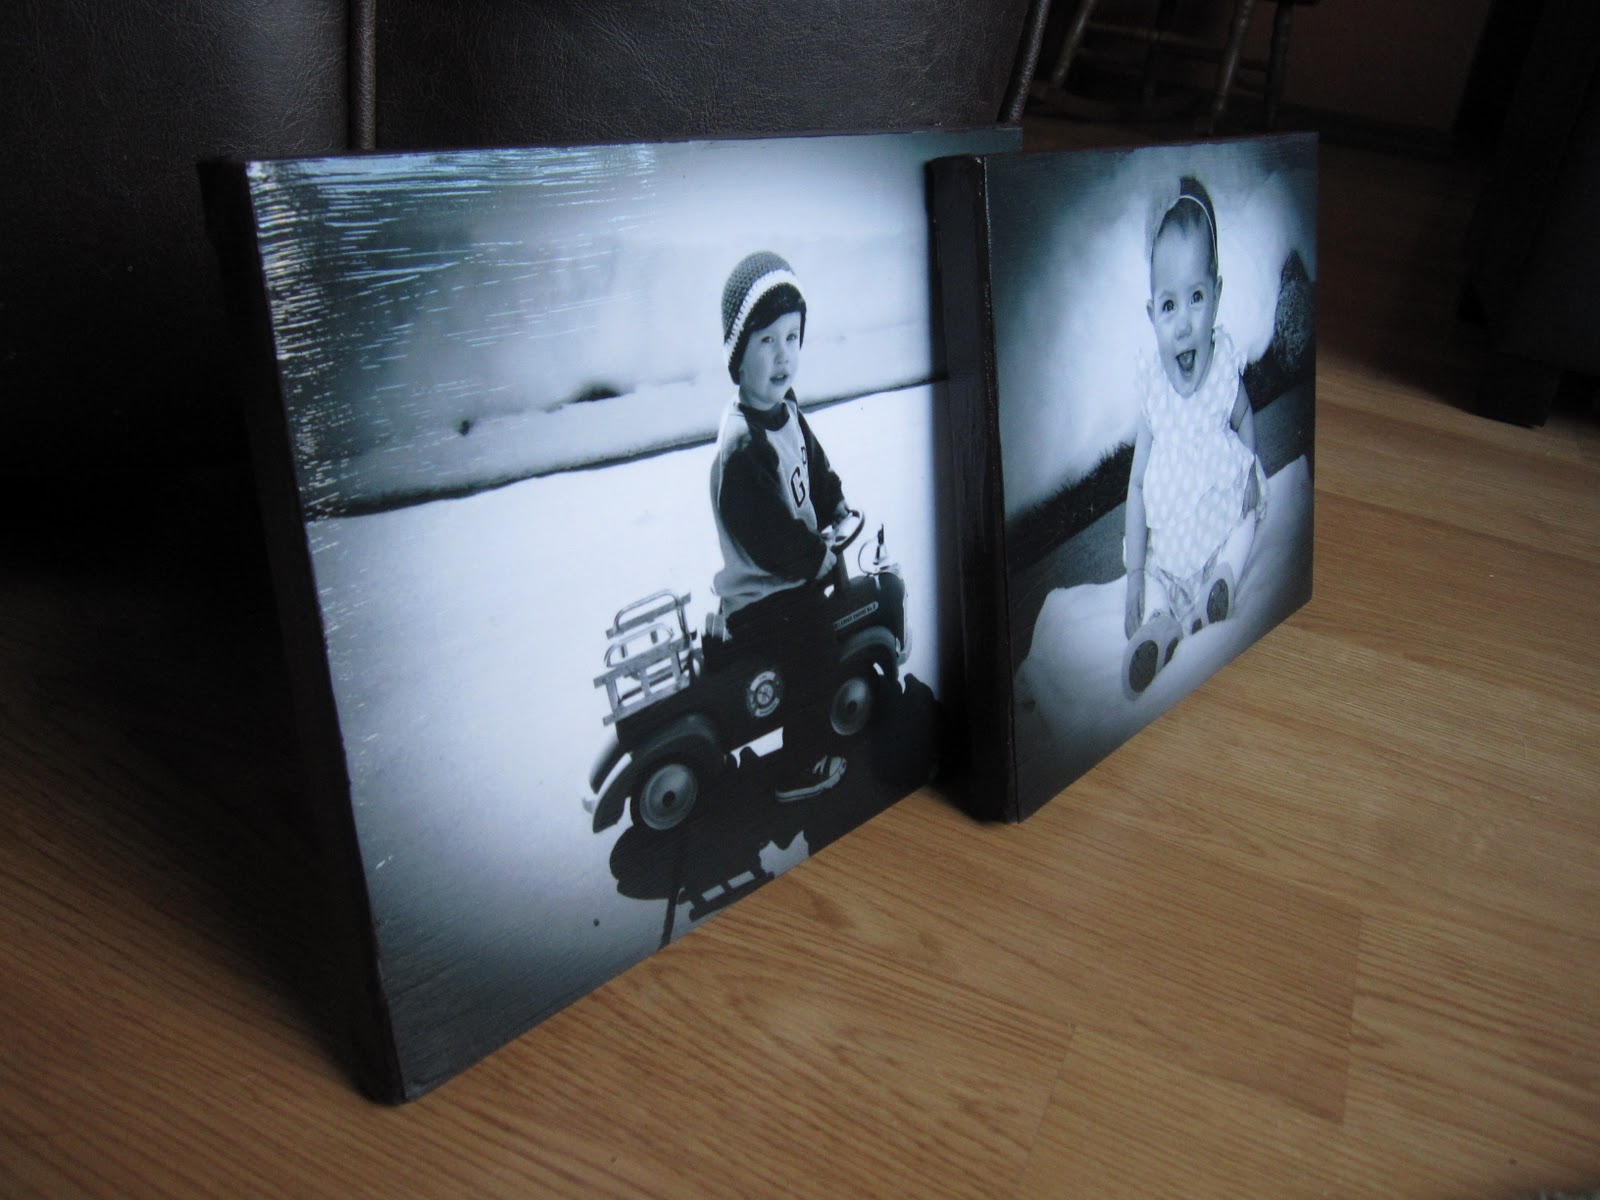


There were a few flops (learning experiences) along the way, 
but over all I'm very pleased with how these turned out!!!

Materials:
 Pre-Stretched Canvas (Any size, I choose 8x10)
Picture, same size as canvas
Mod Podge (I choose Glossy, but Matte would work)
Paint


1. Paint or decorate canvas edges. 
(Learning experience #1: I skipped this step thinking I wanted the edges white. I was wrong. Ended up painting them later, which was MUCH harder than if I had just done it first. Oh well, you live and you learn!)


(Obviously, your picture wont be on yet!)


2. Slap a whole lot of Mod Podge on your canvas. Place your picture on the canvas and align.


3. Coat picture with Mod Pogde. Be sure to only brush one direction (ie: side to side OR up and down)


4. Let dry and repeat. (I did about 3-4 layers)
(Hint: When Mod Podge dries, it shows the brush strokes. On the last layer make sure your strokes are even and clean, since this is how your picture will stay)


5. Hang and Admire your craftiness!


(I hung them in the hall, so the lighting isn't the best!)


My Flop:


I actually don't think it looks bad with white edges... just not as finished???
What do you think???


March 22, 2011

"Italian" Ceramic Pot Holder

A couple weeks ago I discovered our local Habitat for Humanity Re-Store. If you don't have one in your area, picture Goodwill meets Home Depot.  LOVE!

I was there just to browse, so I didn't get as much as I could have, but I did pick up some Italian ceramic tiles. I fell in love with the shape, but could have gone without their color. I know to never judge anything by color (there is nothing spray paint or mod podge can't fix!), so I picked up 4.

I knew I wanted to change the color, but wasn't quite sure after that. I tucked them away for a rainy day project, until I knew what I was going to use them for. 

Well today it rained. Actually, it's raining, hailing and snowing. Definitally a project type of day!!! I decided on some Ceramic Pot Holders.

Here is what they looked like BEFORE:


And AFTER:


The Supplies:


The Hubs really liked the color of the Red ones (they actually have a cool marbly look to them, which was hard to catch on film) so I decided to pretty much leave those ones alone, and concentrate my efforts on the puke green colored ones.

I found some cute scrap booking paper that I liked and it went for it.

(Hint: No need to cut the paper to the exact shape. I used sand paper to "cut" the edges once dry. I think that gives it a more antique feel than a straight cut.)

1. I roughed up the tile with some fine grit sand paper and lathered on the Mod Podge.


2. Once I had a couple good layers of Mod Pogde on there I sanded the edges to get rid of excess paper.


3. I took some brown/black acrylic paint and painted the side edges. Using a paper towel I took a small amount of paint to blend in the sides and top to give it an "older" feel.


4. I sprayed the tiles with a Clear Heat Resistant Gloss to seal everything in.


5. Lastly I  glued some cork to the bottom of each tile. 


Super simple!

Can't wait to have my next dinner guest to show off my new Pot Holders!!!


***Where I got the "Italian" part of this project***


If they said, "Made in USA" would I have called them "American Ceramic Pot Holders"??? Probably not. But thinking that I have a little piece of Italy on my table helps me dream!

Hope you're having a great week!!!


January 25, 2011

Mod Podge Summer Shoes

Taking Boring...


....to Trendy


An unflattering pair of cheap shoes from Target and a 1/2 yrd of fabric from Hobby Lobby. I followed this tutorial from a blog that I just LOVE!

They are pretty simple to do, a cheap personalized alternative to spending more money on seasonal shoes that may be out of style next year. Plus, you can completely tailor the shoes to a specific outfit!

A Couple things to consider....

Unfortunately, there are two. I have to say, it was a bit more tedious than I initially thought it would be. I think they are adorable, but I spent just as much time picking off all the Mod Podge from my fingers than I did on the whole project. Definitely the messiest encounter I have had with the glue yet!

Another thing that isn't the greatest - because the fabric dries hard with a good secure coating of Mod Podge, the inside (where you adhere the flap under the rim) is very rough and will probably hurt my feet within minutes of actually wearing them. To prevent the need for multiple bandaids, I then used a fabric glue to attach soft felt strips where needed on the inside of the shoes. Simple solution!

Any thoughts on that?