April 16, 2011

Pleated Clutch Purse

A few days ago, I introduced you to a resource website called TipNut.com
Brilliant!

Have you hopped over there yet? 
Go ahead - take a moment and I'll be here when you return!

Remember I said that I was searching for a tutorial for a clutch purse? Well - I found one on TipNut. 

This is my creation! 

My first ever purse! that isn't a toddler purse.
The project took me about 3 hours total in between naptime and after the children's bedtime. The most time consuming part (no surprise, the creator told me so) was the tracing and cutting of all the fabric pieces.


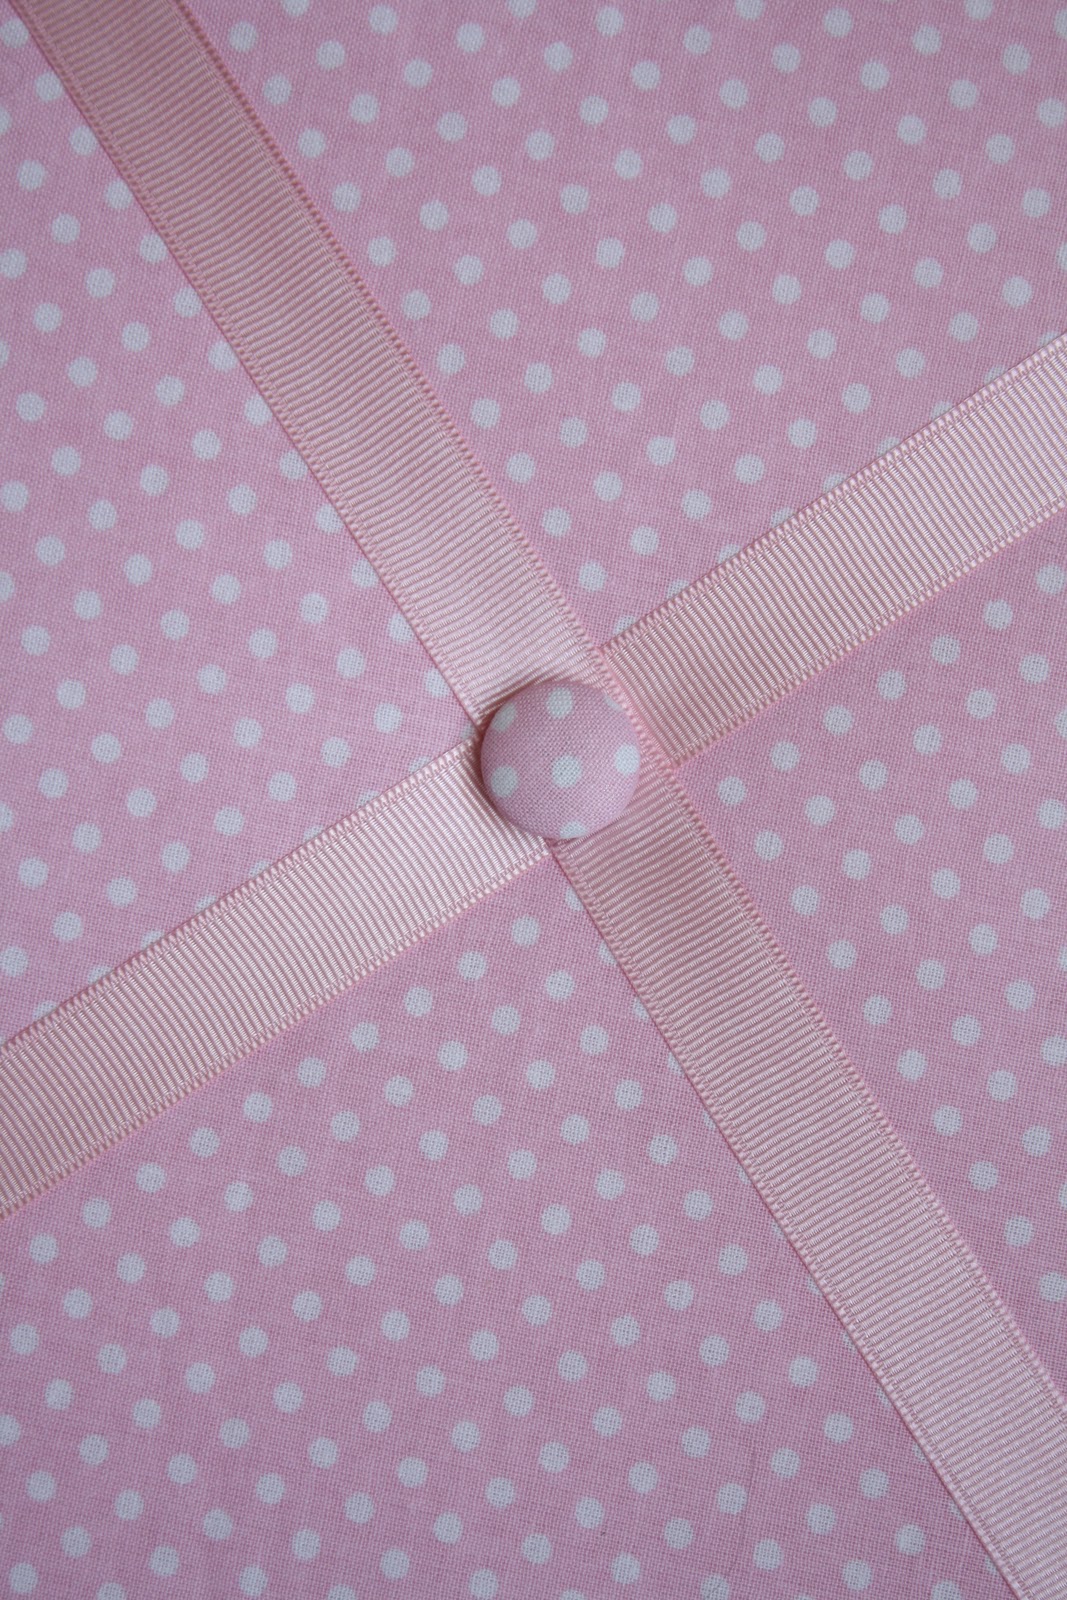
 please pretend you dont see that other spring fabric in the photo. I need to set my "stage" better next time.

The post didn't mention this, but I would recommend finding a home decor fabric made of 100% cotton because it's much sturdier and durable than regular cotton fabric. The tutorial recommeded using 2 pieces of heavy fusible interfacing which would probably be necessary for apparel cotton - but I was able to save the interfacing (only using 1 layer) and going with thicker cotton fabric.

I even added my own little dual pocket sleeve in the inside to hold those little items I'm always fishing for (lip gloss, carmex, mints, a pen)


Ok, Ok so - I didn't keep this fun number for myself. I gave it to my sister in law for her birthday (which was the initial plan). But I like it so much - I will be heading back to the fabric store to get more for round 2!!


Wanna create your own pleated clutch?

April 13, 2011

What I Learned Wednesday - Tipnut.com

I was searching the web for a good clutch purse tutorial - a free one of course :) I have bought patterns from etsy before, but only for patterns that I couldn't really find anywhere else.

Then I stumbled upon this little treasure...

TipNut.Com

I want to introduce you to a resource website that compiles a boat load of free tutorials written by a slew of bloggers. It is categorized in cleaning tips, crafts/diy projects, recipes, gardening ideas basically anything and everything that a woman and a mother.


Naturally I gravitated to "crafts" and there I found subcategories of "Sewing, Knitting, Crocheting, Paper Crafts, Embroidery etc".


Each of these subsection contains a whole list of different projects and within those projects are about 10-20 different resource sites/blog posts that help with you create the project.


The DIY projects section had an outdoor subsection and even a list of "fix it / how to repair" references. How cool is that?

Please take a moment to browse this site and you will be glad you did. If you're like me - it will definitely make your favorite's list :)

Happy browsing!!

April 8, 2011

Craigslist Find

I got this kids picnic table over the winter on craigslist. It was only $10! I thought that was pretty good for being wood and not plastic.


Yesterday was the first REALLY nice day of spring, so I pulled it out to inspect my "project!"

It has good reviews from the little man of the house :)


My dilemma. What color should I paint it??? I want something that screams warm weather and I want some COLOR!

Our house is brown (a blah, brown). Therefore I need to spruce up the backyard with some color.


What color would you pick????

Can't wait to get started! I hope you all have a blessed weekend :)


April 6, 2011

What I've Learned Wednesday: Mom's Rule!

Ok. So I ran across this article and thought it was to good funny to pass up!!!
Carolyn Hax is a writer for the Washington Post and readers can write in questions. 


 "Why don't friends with kids have time!"

 Dear Carolyn:

Best friend has child. Her: exhausted, busy, no time for self, no time for me, etc. Me (no kids): Wow. Sorry. What'd you do today? Her: Park, play group . . .

Okay. I've done Internet searches, I've talked to parents. I don't get it. What do stay-at-home moms do all day? Please no lists of library, grocery store, dry cleaners . . . I do all those things, too, and I don't do them EVERY DAY. I guess what I'm asking is: What is a typical day and why don't moms have time for a call or e-mail? I work and am away from home nine hours a day (plus a few late work events) and I manage to get it all done. I'm feeling like the kid is an excuse to relax and enjoy -- not a bad thing at all -- but if so, why won't my friend tell me the truth? Is this a peeing contest ("My life is so much harder than yours")? What's the deal? I've got friends with and without kids and all us child-free folks get the same story and have the same questions.


Sincerly, Tacoma Washington


Dear Tacoma Washington,

Relax and enjoy. You're funny. 


Or you're lying about having friends with kids.

Or you're taking them at their word that they actually have kids, because you haven't personally been in the same room with them.


Internet searches?


I keep wavering between giving you a straight answer and giving my forehead some keyboard. To claim you want to understand, while in the same breath implying that the only logical conclusions are that your mom-friends are either lying or competing with you, is disingenuous indeed.


So, since it's validation you seem to want, the real answer is what you get. 


In list form. When you have young kids, your typical day is: constant attention, from getting them out of bed, fed, clean, dressed; to keeping them out of harm's way; to answering their coos, cries, questions; to having two arms and carrying one kid, one set of car keys, and supplies for even the quickest trips, including the latest-to-be-declared-essential piece of molded plastic gear; to keeping them from unshelving books at the library; to enforcing rest times; to staying one step ahead of them lest they get too hungry, tired or bored, any one of which produces the kind of checkout-line screaming that gets the checkout line shaking its head.


It's needing 45 minutes to do what takes others 15.


It's constant vigilance, constant touch, constant use of your voice, constant relegation of your needs to the second tier.


It's constant scrutiny and second-guessing from family and friends, well-meaning and otherwise. 


It's resisting constant temptation to seek short-term relief at everyone's long-term expense.


It's doing all this while concurrently teaching virtually everything -- language, manners, safety, resourcefulness, discipline, curiosity, creativity. Empathy. Everything.


It's also a choice, yes. And a joy. But if you spent all day, every day, with this brand of joy, and then, when you got your first 10 minutes to yourself, wanted to be alone with your thoughts instead of calling a good friend, a good friend wouldn't judge you, complain about you to mutual friends, or marvel how much more productively she uses her time. Either make a sincere effort to understand or keep your snit to yourself.


Carolyn Hax. Write to Tell Me About It, Style, 1150 15th St. NW, Washington, D.C. 20071, 

WOW!

If you're a Mom you are either peeing yourself from laughing or on the verge of screaming "Amen, Sister!" I was doing both.


I LOVED "It's resisting constant temptation to seek short-term relief at everyone's long-term expense." So true!!!

So if you're a Mom here is my pat on the back for you!

But..... (I know the 'B' word) in all seriousness, I am trying to make the effort to call, write or even text, my un-Momed friends out there. You do matter. And I do love you.

I'll leave you with a couple photo's of  "my brand of joy"!!!


Have a great day!!!!


Something for (almost) Nothing?

How many times have you heard that statement?
There's no such as free

What can one dollar buy you these days?
How about 25 cents? A gumball maybe? Even mechanical kiddie rides at the grocery store are at least 75 cents if not a dollar.

And yet today I found proof that you can in fact find something for nothing almost nothing.

Behold...
An iron pad.
A silicone heat resistant iron pad.
I have an old crummy ironing board that rocks back and forth due a poor design flaw in the nonexistent floor stablizers. When the board rocks - my iron sways and rocks also and that makes me nervous. I never use it in this manner when the kids are running around, but never the less when I saw this iron pad my eyes lit up. Then I looked at the price - $0.25 is what the hook marker said. 25 CENTS? For real? Couldn't pass that up. I was interested to see if the cashier was going to tell me there was a mistake. I have seen these silicone pads for at $3.50 in other stores.

After the cashier rang up my purchase I asked her if the iron pad rang up as $0.25. She said, "It actually rang up as $0.01."

Hold Up!
Back Up The Truck!!

1 CENT? They were selling this item for a PENNY?

 3rd item down

Um.. yes please!

I guess you can get something for almost nothing!! We'll see how great that "something" is provided this silicone pad isn't defective and melts to my iron. HA! Then this 1 Cent purchase will cost ME a new iron!

April 5, 2011

DIY Photo Canvas!

I am always looking for fun and unique ways to display our family photos. These look professionally done, but for a fraction of the cost! I think I spent $10 for the whole project!


There were a few flops (learning experiences) along the way, 
but over all I'm very pleased with how these turned out!!!

Materials:
 Pre-Stretched Canvas (Any size, I choose 8x10)
Picture, same size as canvas
Mod Podge (I choose Glossy, but Matte would work)
Paint


1. Paint or decorate canvas edges. 
(Learning experience #1: I skipped this step thinking I wanted the edges white. I was wrong. Ended up painting them later, which was MUCH harder than if I had just done it first. Oh well, you live and you learn!)


(Obviously, your picture wont be on yet!)


2. Slap a whole lot of Mod Podge on your canvas. Place your picture on the canvas and align.


3. Coat picture with Mod Pogde. Be sure to only brush one direction (ie: side to side OR up and down)


4. Let dry and repeat. (I did about 3-4 layers)
(Hint: When Mod Podge dries, it shows the brush strokes. On the last layer make sure your strokes are even and clean, since this is how your picture will stay)


5. Hang and Admire your craftiness!


(I hung them in the hall, so the lighting isn't the best!)


My Flop:


I actually don't think it looks bad with white edges... just not as finished???
What do you think???


April 1, 2011

Hair Accessory Holder

A while back I had made a bow holder for Jaelyn's hair clips and flowers that hung in her room. I adored it first, but that quickly diminished when I found myself starring at it everytime I nursed my daughter in her room. The rocker chair is literally aimed right at it and I actually began to hate it. So I made the decision (long before I acted upon it) to make a new one. It's very simple and you may find that you have most of these supplies around your house.

An Art Canvas of any style, shape or thickness
Polyfill Batting
Fabric to cover
Ribbon
2 Buttons
Staple Gun
Scissors

Covering the Canvas
Begin by cutting out a sizeable amount of batting (folded once for double layering).
 Be sure to leave an extra 2.5 inches (give or take depending on the thickness of your canvas). 


Use the staple gun to secure the batting all around the perimeter of the canvas. Try to minimize the amount of batting that collects in the corners. Too much bulk will cause your holder to stick out unevenly against the wall.

Here is your stapled batting complete.

Use the same process to attach your fabric of choice. Be sure to use consistent even tension when pulling the fabric taught as you staple.


Attaching the Ribbon
Use a measuring tape to locate the center of your canvas. I used this as my guide to pin the ribbon in a diagonal fashion. You can use your own style choice by attaching the ribbon in diagonals, rows or columns,

Once again, use the staple gun to secure the ribbons on the backside.


Then I used fabric covered buttons to complete my project.
 This was the first time using cover buttons and I loved them!

They are pretty self explanatory, but if you have never tried them or even seen them in the store -

Now sew them onto your canvas. This was a bit tricky with the cover buttons because both the buttons AND the canvas have little "give" so my needle angle had to be percise.

TA DA!!


 It's great to be able to completely customize your accessories to match the decor rather than being dependant on what the stores have to offer.


March 28, 2011

What I Learned Wednesday - Cover Buttons!!

Ever Try These Nifty Thing??

Many of you may say, "Is she for real? She's never used a cover button?"
And some of you may say, "What's a cover button?"

For the latter - this post is for you :)

I have seen fabric covered buttons here and there but never actually tried one out myself. The idea of "how do you get the fabric tucked inside?" can be a bit thought provoking. These nifty things have a very simple - fool proof method that can work for anyone.

Wanna see how easy it is?
read on...

A circle template is printed on the back of the packaging.
 I chose to copy the circle onto a more sturdy cereal box cardboard for future use.

This is the pattern you will use when cutting your fabric.

Start with the small supplied rubber "container" on the bottom, followed by your fabric and the outer cover button piece.

Push the cover piece into the container, then tuck all the fabric inside the container as best as you can.

Align the back piece of the button on top of the stuffed fabric and use the "pusher" to shove the back piece down into the container, thus clamping it into the cover piece. You will know you have it complete when the back piece is even and not angled.
Then pry the covered button out of the container (remember: it's rubber so it will bend).

There you have it!