March 10, 2011

Wrapping up the week... GIVEAWAY!

Ok, I know they say "Save the best for last", But since all three giveaways were pretty fantastic... all I can say is, "Saved the (tied for 1st) for last!"


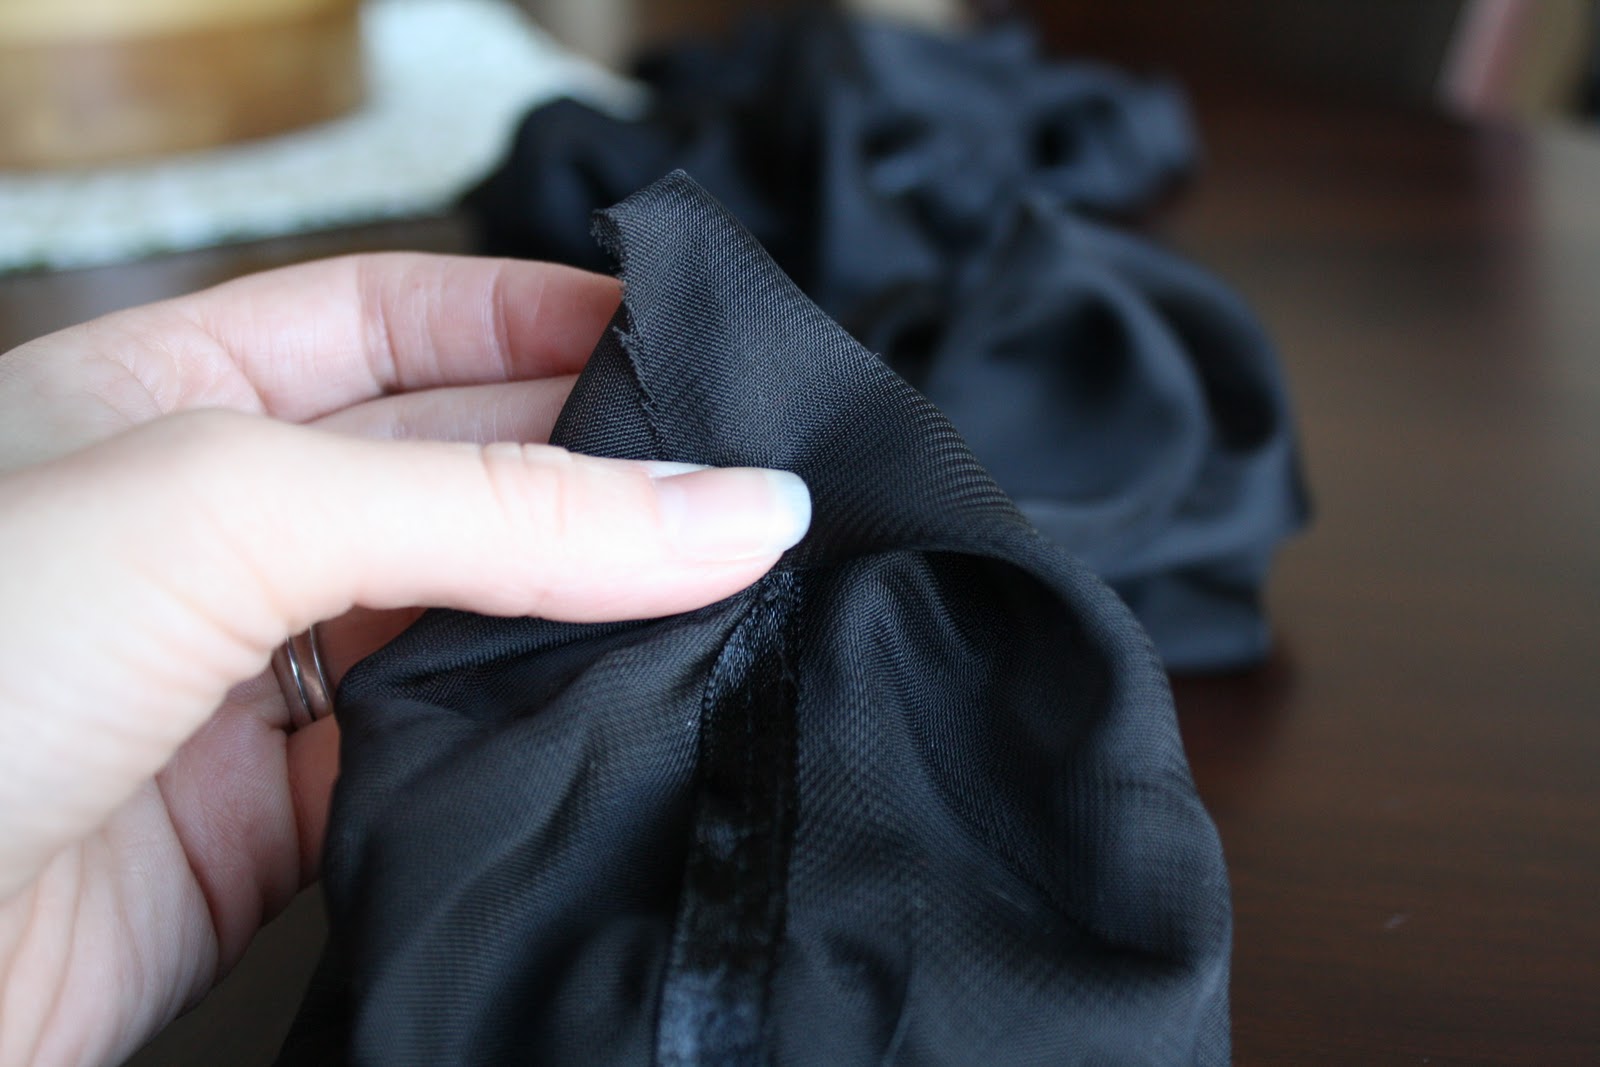
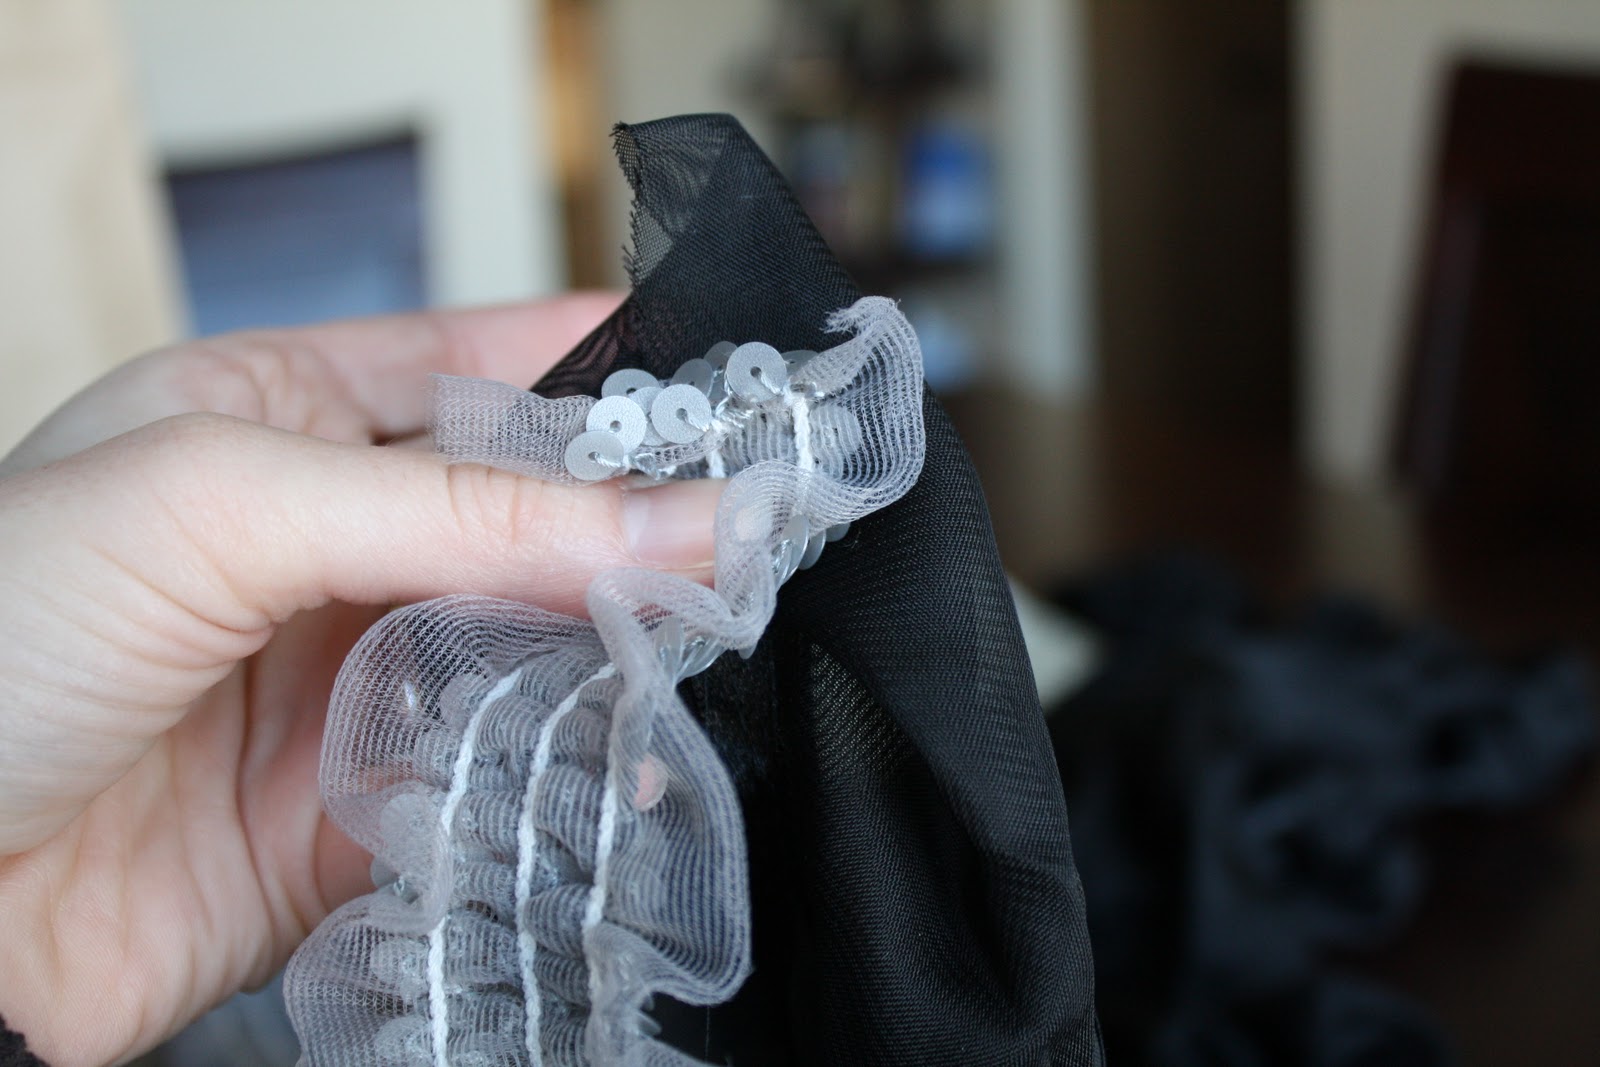
This is our take on a ruffled fabric necklace! Embellished with sweet little rosettes of course.


Although the fabric looks like burlap, its actually brown textured linen. Looks a lot like burlap, but soft to the touch. 

I love how it turned out. Pretty sure I need to go make one in every color now! And it only took about 10 minutes to make. 

Linda from Craftaholics Anonymous gives a great tutorial on how to make these beauties. If you do head over to see how they are made, make sure you check out her post about "You know your a Craftaholic when..." post. You might need a tissue or even a change of pants when you get threw... I was literally laughing out loud for days!!!


Wondering how to get your hands on this charming necklace???


Each of the following actions will grant you 1 entry
-Leave us a comment and tell us about a new project you are working on.
-Follow Trains, Bows and Two Cosmos, (leave a comment and tell us you did)

Each of the following actions will grant you 3 entries
-Display our button on your blog (leave a comment and tell us you did)
-Share this giveaway with your readers by creating a blog post linking back here. (leave a comment and tell us you did)

The winners will be drawn randomly at the end of the week (friday) and displayed on March 12th. Please check back to see if YOU have won!!

Make sure you also enter the other two giveaways found here and here, only two days left!!!

Ok one last look, just for fun!


Thanks for entering all our BLOG OPENING GIVEAWAYS!!!
We hope you win!

Make sure you come back often, we have some great idea's and reveals in the days and weeks to come and we can't wait to show you!


March 9, 2011

Introducing: What I've Learned Wednesday!!!

What is 'What I've learned Wednesday'??? In simplest terms it's a place to share what we've learned!
I know, I know thats not giving you much.... but really thats it.

It could be anything. A life lesson. A new craft tip. A random fact. 
Basically anything we've learned and feel its worth sharing. Simple. 


Soooo... here we go!


What I've Learned Wednesday: Houzz dot what?


Anyone ever heard of houzz.com??? I just heard of it yesterday (from my husband of all people. He gets me.) and I am in L-O-V-E!!! 


About Houzz

"Houzz is a community of home design enthusiasts from around the world. It's the online version of cutting pages out of magazines and stuffing them in a folder - but much easier to search, save, and share. "

Speechless??? I was at first too. And it just gets better from here.

"Design professionals showcase their portfolios, sharing their work with a community dedicated to home and landscape design. 15,000+ professionals have uploaded more than 80,000 inspiring photographs, making Houzz the Internet's largest database of design and decorating ideas."

There are literally thousands of pictures to browse and get idea's from. You can search by room, style, geographical area, keyword, designer... anything really.

Wait there is more! You can create an "ideabook" and save everything you like. 


If you see a chair you like, SAVE! "Oooo I like that floor", SAVE! "That looks like a great DIY", SAVE! Dream Kitchen, SAVE! There is even a comment section, to put your private thoughts, so you remember WHY you saved that picture. Genius!

AND as if that wasn't enough??? You can ask questions and they ANWSER!!!


It's like a magazine that talks back! Have you ever flipped through photo's and thought, "That would be the perfect color for my bathroom wall!"??? Well no more 'wondering' . Ask them. They will tell you... CRAZY right?!?!

I feel like I have only scratched the surface of this website and I am SO excited already. Last night the hubs and I spent an hour just looking at things and playing the "one day" game. It was fun!

I'm pretty sure this website jumped to my top 10 all time favorite things. Husband, Kids, Houzz.com, Chocolate... Ok maybe not quite right there, but it really was love at first sight. 


Here are some pictures that I've added to my "Ideabook"

Living Room / Dining Room. eclectic living room
(Love the Pictures)


Jewellery rack contemporary closet
(Cute and Easy)


Childrens Play modern landscape
(Kids 'clubhouse')


girl bedroom  kids
(Love all the colors)


Crystal Cabinetry traditional kitchen
(A girl can dream... right?)


Well I could talk all night about how much I love this site. So go and explore and get that creative mind cranking!

Happy Browsing :)


March 8, 2011

And the GIVEAWAYS continue...

Is Spring here yet??? Well if we listen to Phil (the groundhog) he says spring is near! However if you live in the NW you will be getting 4-8 inches of snow tonight!!!

Boooo.... I was really hoping for spring!

If you are anything like me you start to fall into a "wardrobe funk" when another season is approaching. You pre-maturely pull out all your fun skirts and cute tanks to get ready for the new season, THEN step outside and get smacked with a cold wind called "reality"!

Therefore I think this beauty is the perfect giveway for the changing seasons!!!


(Can you see giveaway #1 in the background? Oops!)
(AND the shadow from my arm...double Oops!)


Not only does she add the practicality (warmth) needed, but she gives you a little hope that spring is fast approaching, with her light colors and giant rosette!


Isn't she Pretty?!?!


Want to win this perfect Winter/Spring accessory for your wardrobe?!?!


Here's how to enter each give away:


Each of the following actions will grant you 1 entry:
-Leave us a comment telling us your favorite Winter/Spring accessory.
-Follow Trains, Bows and Two Cosmos, (leave a comment and tell us you did)

Each of the following actions will grant you 3 entries:
-Display our button on your blog (leave a comment and tell us you did)
-Share this give away with your readers by creating a blog post linking back here. (leave a comment and tell us you did)

The winners will be drawn randomly at the end of the week (friday) and displayed on March 12th. Please check back to see if YOU have won!!


Want to MAKE an ear warmer for yourself?!?! Delia from Delia Creates lays out a great and easy to follow tutorial found here. She has some super cute ideas! Love her!


Tomorrow is a new day, so make sure you are back to see what we unveil!!! Could be another giveaway OR something else that is super fabulous!

Thanks for reading :)

March 7, 2011

First ever GIVEAWAY!

Our blog opening has finally arrived! 
And we are celebrating with our first ever GIVEAWAY PARTY!!! We have three, YES, three giveaways happening this to jump start the week!


So let's get this party giveaway started.

We have been seeing a lot of jewelry holders out there lately and they are all amazing!
This is our beauty we came up with! 

Originally this was a mirror I picked up at GW for $2! 
With a little spray paint/glaze lovin, trendy fabric and lace trim, we turned someone's "junk" into our treasure!!!


What do you think??? Totally cute right?!?!


I just love the colors! And not only will it look great hanging on your wall, but it will display all your earrings in style! Functional art... now that where its at!!


So how do you win this beauty???


Here's how to enter each giveaway:


Each of the following actions will grant you 1 entry
-Leave us a comment introducing yourself and tell how you heard about us.
-Follow Trains, Bows and Two Cosmos, (leave a comment and tell us you did)

Each of the following actions will grant you 3 entries
-Display our button on your blog (leave a comment and tell us you did)
-Share this giveaway with your readers by creating a blog post linking back here. (leave a comment and tell us you did)


The winners will be drawn randomly at the end of the week (friday) and displayed on March 12th. Please check back to see if YOU have won!!


And make sure you are here tomorrow for ANOTHER great giveaway, you don't want to miss this one!!!

Have a blessed day!


February 20, 2011

10 Minute Shoe Makeover

Who doesn't love a good clearance find?!?! I saw these pink flats and thought, 'these are too cute to be on clearance...what's wrong with them?' I couldn't find anything, they were perfect, except... for the size!

Photobucket


However, a good friends birthday was coming up and I needed the perfect accessory to pull the whole gift together... and they had her size. Score!

The theme to her gift was Black&White with a hint of pink. Therefore these already cute flats needed some B&W love...

Photobucket

What do you think? Better before? Or are you loving the B&W?!?!

How to make-over your shoes? Heres what I did...

Take a 6 inch by 36 inch piece of fabric and iron the edges inward.

Photobucket

Then iron the fabric in half.

Photobucket


Roll one end of the fabric and keep twisting the fabric around itself,
until you form a rosette to the size you need.

Photobucket


Photobucket

(I used hot glue along the way, to make sure they were nice and secure)

Next, I cut off the old pink rosettes and hot glued the new B&W rosettes on.

Photobucket

Voila! Super cute, one of a kind flats!
(And all under 10 minutes... can't beat that!)

Photobucket

I can not wait to show you the maternity shirts I have been working on to match these fun accessories! Check back soon to see all the fun we have here at TB2C!!!

Photobucket


Linked up at:


Make it Yours @ My Backyard Eden


LINKPARTYBUTTON

February 10, 2011

Simple Chiffon Scarf


How many times do you get completely sidetracked at the craft store? You're there for a few specific items and before you know it, your head is in the clouds. "Ooo, that will look great with (fill in the blank) _________ that I bought here yesterday last week." My project to-do list is already a mile long, not to mention the three unfinished projects that currently reside on my kitchen table. 

Raise your hand if this is you!    


It's funny how sometimes the craft ideas that come to your mind during those sidetrack moments, can turn out to be the most fun.

 So here it is...

SideTrack Project #1
Simple Chiffon Scarf


I found these items at Joann's (where else?). The black chiffon fabric roughly 3 inches wide bond together with a ribbon along one side and the other is an elastic piece of grey sequence and gathered meshing. I bought 2 yrds of each. What I liked about finding these pieces, is they are already finished along the sides.


First, take the chiffon piece and open it so that the binding ribbon is down the center. Hold the fabric in place with pins down the entire length. It will be pleated to some extent.


Make sure that your machine is set appropriately for light weight, delicate fabrics. Using a straight stitch, sew down the center with like colored thread.  


This is how your fabric will look once you have sewn down the center. One side will have the ribbon down the middle and the other side won't - I will call the nonribbon side "blank side". We will be attaching the sequence elastic strip on the blank side.

 First, take one raw end of the chiffon fabric with the binding ribbon facing you.


Fold the corners down to the middle to form a point.

Position the elastic piece face down right over the folded point and pin in place.

Because the binding ribbon side is facing you, the rest of the chiffon fabric should be laid out on the table with the blank side facing upward. Lift up the elastic piece so the you see the right side and fold it back along the chiffon ribbon.


This will give the end a finished look


 Begin to sew the two pieces together. If you want a full gathered look to your scarf, make sure you are pulling the elastic piece as you feed the machine. <-- option I chose.  If you prefer only a light pleating, then sew the elastic piece without stretching it. Continue sewing the full length of the scarf. 


Once you have reached the other end, finish it off the same way you started. Folding the raw corners in to form the point.

This time you will need to fold up the corner to expose the binding ribbon from underneath.

Then fold the raw end of the elastic piece under...


Finish sewing through to the end and along the botton width to secure the end. Then sew alongside the sequence on the other side to complete the attachment.


That's It!


Linked up at:


LINKPARTYBUTTON