March 28, 2011

What I Learned Wednesday - Cover Buttons!!

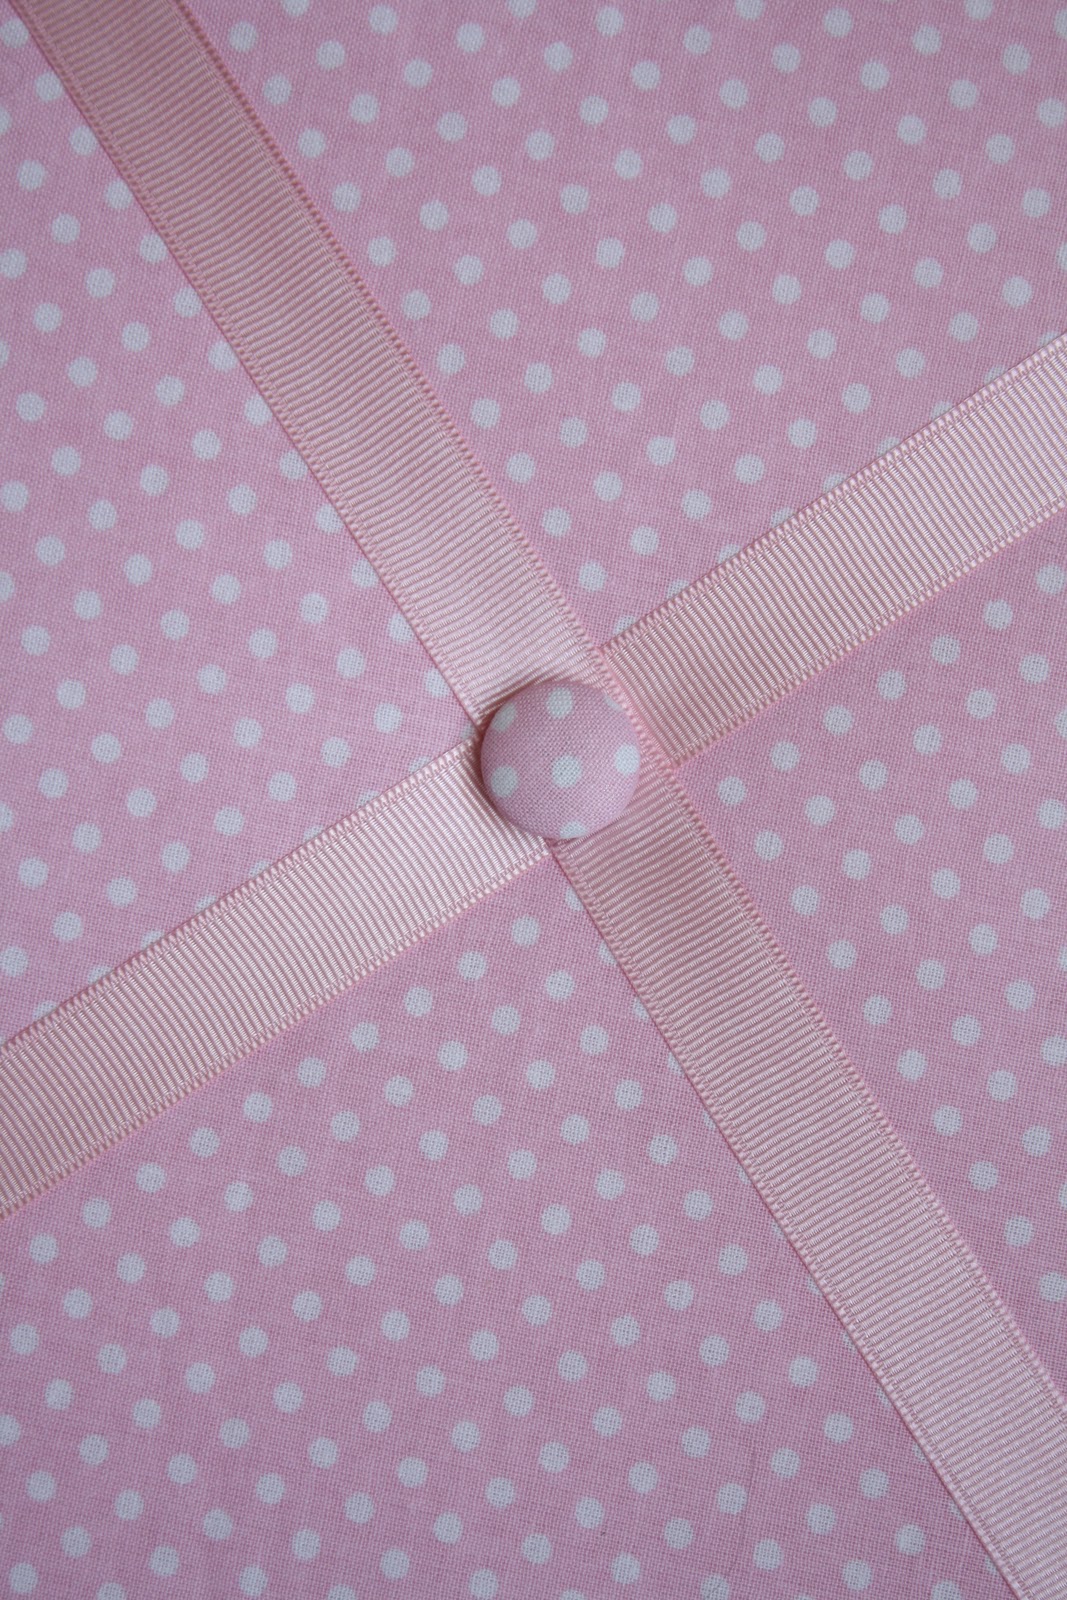
Ever Try These Nifty Thing??

Many of you may say, "Is she for real? She's never used a cover button?"
And some of you may say, "What's a cover button?"

For the latter - this post is for you :)

I have seen fabric covered buttons here and there but never actually tried one out myself. The idea of "how do you get the fabric tucked inside?" can be a bit thought provoking. These nifty things have a very simple - fool proof method that can work for anyone.

Wanna see how easy it is?
read on...

A circle template is printed on the back of the packaging.
 I chose to copy the circle onto a more sturdy cereal box cardboard for future use.

This is the pattern you will use when cutting your fabric.

Start with the small supplied rubber "container" on the bottom, followed by your fabric and the outer cover button piece.

Push the cover piece into the container, then tuck all the fabric inside the container as best as you can.

Align the back piece of the button on top of the stuffed fabric and use the "pusher" to shove the back piece down into the container, thus clamping it into the cover piece. You will know you have it complete when the back piece is even and not angled.
Then pry the covered button out of the container (remember: it's rubber so it will bend).

There you have it!


March 26, 2011

Old Crib Mobile Made New

What do you do with a crib mobile when your first child grows out of it?


Recover it for your second child!

I was never real crazy about the crib mobile that came with Jackson's crib set. But of course he was our first child so I had to buy the $150 6-piece bedding set. Anyways, we did get our use out of it with him and I got smarter when we were pregnant with my daughter. I made all her bedding, window treatments and changing pad covers by hand. Saved myself about $100! Following suit, I took the hardware from Jackson's mobile and created this new one for Jaelyn.

It was important to me that I changed the orientation of the dangling flowers. Have you ever noticed that most mobiles have their floating objects positioned so that only the adults can see what they are. From your baby's point of view, all she gets to see is the bottom portion of the hanging moon.

View my tutorial here, which I had published on my personal blog last summer.


March 23, 2011

What I've Learned Wednesday

What I have learned recently is that good intentions sometimes fall short. Jackson's grandpa found these Thomas the Train slippers at a rummage sale over the summer. I laughed because at the time Jackson had no interest in Thomas and was sporting a shoe size 4... these slippers are a whopping size 7-8 :) So they got stuffed in his closet for another day.

Another day came much quicker than I thought when he discovered the slippers with great excitement. I laughed again because I couldn't believe how smitten he was with them. Good job, Grandpa! By this time, Thomas had become a member of our family and was so happy to be wearing these "flippers" - he is still only a size 6 now.  

This is how Thomas looked when he joined our family. A tad worn and in need of some tlc.

Thanks to a brand new black sharpee... Thomas got his eyes and eyebrows back.


I was very proud of my 15 second restoration job which made a 100% difference that I just had to photographed it! 


Silly me for turning my head to adjust the camera setting... someone's little hands got ahold of the sharpee and wanted to be "like mommy".

Poor Thomas

Because my first reaction was "Oh No Jax!"... he then refused to wear the one he drew on and only wanted to wear the other one. Nice!

What else have I learned? That the Magic Eraser is purely that - Magic!


March 22, 2011

"Italian" Ceramic Pot Holder

A couple weeks ago I discovered our local Habitat for Humanity Re-Store. If you don't have one in your area, picture Goodwill meets Home Depot.  LOVE!

I was there just to browse, so I didn't get as much as I could have, but I did pick up some Italian ceramic tiles. I fell in love with the shape, but could have gone without their color. I know to never judge anything by color (there is nothing spray paint or mod podge can't fix!), so I picked up 4.

I knew I wanted to change the color, but wasn't quite sure after that. I tucked them away for a rainy day project, until I knew what I was going to use them for. 

Well today it rained. Actually, it's raining, hailing and snowing. Definitally a project type of day!!! I decided on some Ceramic Pot Holders.

Here is what they looked like BEFORE:


And AFTER:


The Supplies:


The Hubs really liked the color of the Red ones (they actually have a cool marbly look to them, which was hard to catch on film) so I decided to pretty much leave those ones alone, and concentrate my efforts on the puke green colored ones.

I found some cute scrap booking paper that I liked and it went for it.

(Hint: No need to cut the paper to the exact shape. I used sand paper to "cut" the edges once dry. I think that gives it a more antique feel than a straight cut.)

1. I roughed up the tile with some fine grit sand paper and lathered on the Mod Podge.


2. Once I had a couple good layers of Mod Pogde on there I sanded the edges to get rid of excess paper.


3. I took some brown/black acrylic paint and painted the side edges. Using a paper towel I took a small amount of paint to blend in the sides and top to give it an "older" feel.


4. I sprayed the tiles with a Clear Heat Resistant Gloss to seal everything in.


5. Lastly I  glued some cork to the bottom of each tile. 


Super simple!

Can't wait to have my next dinner guest to show off my new Pot Holders!!!


***Where I got the "Italian" part of this project***


If they said, "Made in USA" would I have called them "American Ceramic Pot Holders"??? Probably not. But thinking that I have a little piece of Italy on my table helps me dream!

Hope you're having a great week!!!


March 19, 2011

Adorable Baby Dress

I don't fancy myself an expert sewer - maybe intermediate at best. But when I saw the pattern for this dress on Prudent Baby - I fell instantly in love it. I find it much easier to follow pattern from a blog post using a .PDF rather than from a packaged tissue pattern from the craft stores. This dress took me about 2 days to complete (with allotted time being naptime and bedtime only). 

Isn't it just darling?!?  


Visit here for the pattern instructions.

March 16, 2011

What I've Learned Wednesday: Crazy about Marbles

Does anyone read "Real Simple" magazine? I personally love it. There is a lot of great idea's in there and most of them are just "real simple". (I couldn't resist!)

This month they had an article about the many uses for marbles!


1. Playful Arrangement: Add marbles to the bottom of a vase to keep your daisies in the drink and make arranging, well, child's play!

2. Curtain Weights: Light weight drapes and fabric shower curtains can billow with the faintest breeze. Keep them in place buy cutting a small slit into the seam, slipping in a few marbles into the hem, and sewing the opening back up.

3. Muscle Smoother: Store a handful of marbles in the freezer, drop them into a thin sock, then roll it across your sore spots for ahh-inducing relief.

4. Spray-Bottle Aid: To pull the last bit of cleaner from bottle, drop in a few marbles to raise the liquid's level to the spray tube.

5. Heartfelt Cupcake: After filling a cupcake liner with batter, wedge a single marble between the liner and the pan to create a heart-shaped indent.

6. Soap Saver: Add a layer of marbles to a soap dish to keep the bar from sticking (and the soap dish from getting slimy!)


Who knew these fun colorful marbles had so many uses! 
Can't wait to use a couple of these tricks.


Thanks for reading! 


March 14, 2011

Fabric Covered Accenting Balls

This is a simplistic project for anyone! Something your children could assist you with as long as you're careful with handling the placement pins. I found the engraved accenting balls at Hobby Lobby 50% off. Don't you just LOVE when Hobby Lobby has 50% off sales?? Each ball reads a scripture from the bible along with a value to live by. I chose Faith and Grace, although there were several more to chose from. I wanted to coordinate these balls with more color and display them on my kitchen table. I found this idea when I saw looking at a tear away "project ideas" sheet in the fabric dept. All you need are a few basic supplies that you may even have laying around the house.


Styrofoam balls - size & quantity is your choice. I chose 3" diameter
Colorful Fabrics - roughly a fat quarter amount
Flat head pins

1. Tearing the fabric
Here's a neat trick! Tearing the fabric (verses cutting) gives the edges more character. On your fat quarter of fabric and make a tiny slit about 2 inches from the edge. Take advantage of the length and make your strips down the longer sides. Grabbing both sides of the slit, begin to tear the fabric down from the slit. Make sure you are holding the fabric firmly and ripe it with force. Your fabric will tear nicely along the thread line. 


Discard the first strip that has the finished/cut edge. Begin to tear your 1.5 inch wide strips with your new torn edge. Keep in mind that the thinner the strips, the nicer they wrap around the styrofoam balls. However, tearing sections thinner than 1.5 inches in width, may cause your tearing to veer on an diagonal thus resulting in an uneven strip. Then remove all the stray threads. 

2. Wrapping the styrofoam balls
Pin the first end of the strip to the ball. Then simply wrap the fabric around the ball.

I found that folding part of the fabric under when you make a turn prevents the access fabric from bunching.


Continue to wrap the fabric all the way around until it's completely covered.

That's all there is to it!
Complete the rest of the balls and place together in a decorative bowl.


March 12, 2011

And The Winners Are...

Fabric Contour Necklace


winner: Laura #6 @ One Crazy Kitchen

the entries were ranked as the following:
Laura = 1-8
Autumn = 9-16
------------------------------------------------------------------

Ear Warmer

winner: Autumn #11 @ Graceful Rantings of a Clutz

the entries were ranked as the following:
Laura = 1-8
Autumn = 9-16
-------------------------------------------------------

Earring Holder
winner: Charlotte #4 @ For A Lifetime

the entries were ranked as the following:
Charlotte 1-8
Laura 9-16
Natalie 17-18
Kelly 19-20
Amber 21-22
Nicole 23-24
Autumn 25-32
Jamie 33-34
Leda 35-42
Hellotarose 43-44

Congratulations Winners! Please email us at 2trains2bows@gmail.com to claim your item.
And thank you to everyone who entered the give aways.
Please visit back often for more fun projects we have to share!